When you program check forms for the USA or Canada, you have to print certain characters with a MICR font (Magnetic Ink Character Recognition). In the US and Canada, checks are printed on inkjet printers with magnetized ink so that they can be read-in by the banks.
While in Germany and other European countries the bank sort code and account number are printed in an OCR-A or OCR-B font on the transfer medium, this information is embedded in a MICR font on US and Canadian check forms.
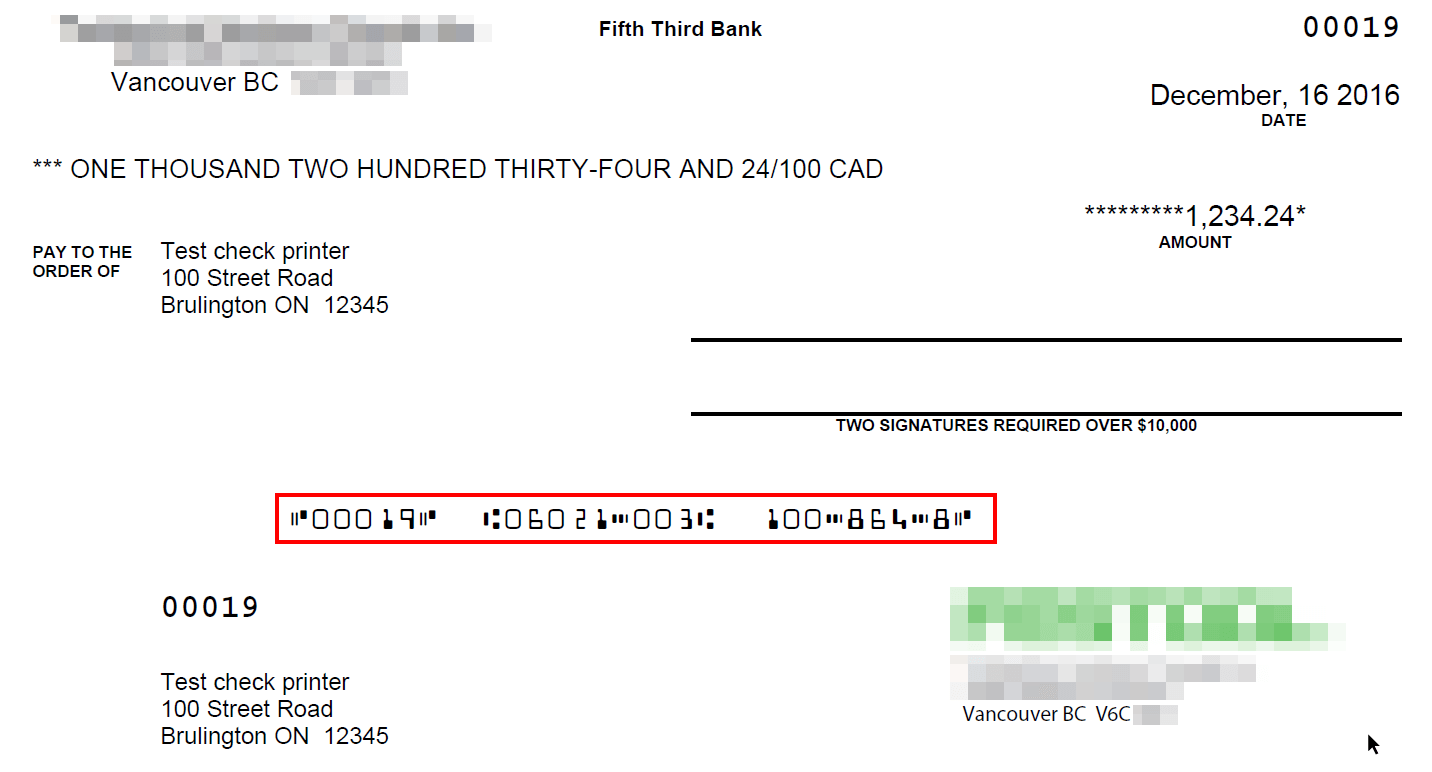
A typical check looks as follows. The information that is printed with the MICR font is red-framed.
Ausgabe von Daten mit einem MICR Font auf einem SAP Adobe Form
All MIC-special characters can be represented with the 4-digit Unicode value. Here is the list of 4-digit Unicode values for the MICR special characters.
First, you open Word. Then enter the 4-digit Unicode, e.g. 2446. Then press ALT + C at the same time (press ALT key, hold down and then C). In an older Word version, you press ALT + X.
This automatically converts the 4-digit code into the character
⑆
The CTRL + C (Copy / Paste) character is inserted into the buffer.
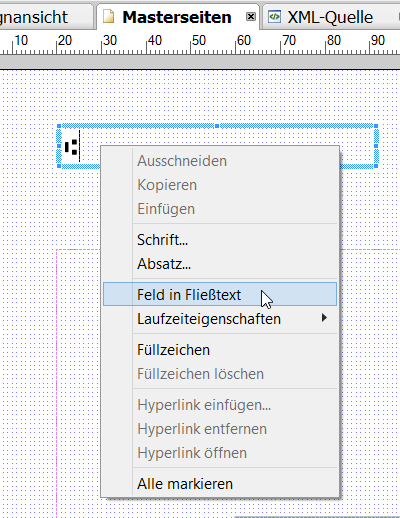
Now go to the Adobe Designer and insert a text into the form. Double-click into the text field to insert the special character with CTRL + V (Copy / Paste).
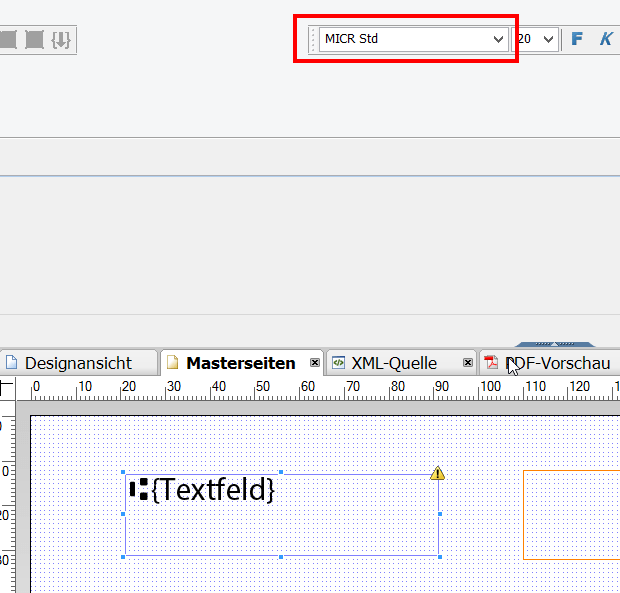
To append fields, press the right mouse button. In the context menu, choose FIELD IN FLIESSTEXT. The field is now given the appropriate data binding, assigns the fields MICR to all fields and the special characters with MICR font can be printed.


